How to Use Japanese Vending Machines
A simple step-by-step guide to coins, bills, IC cards, product buttons and change.
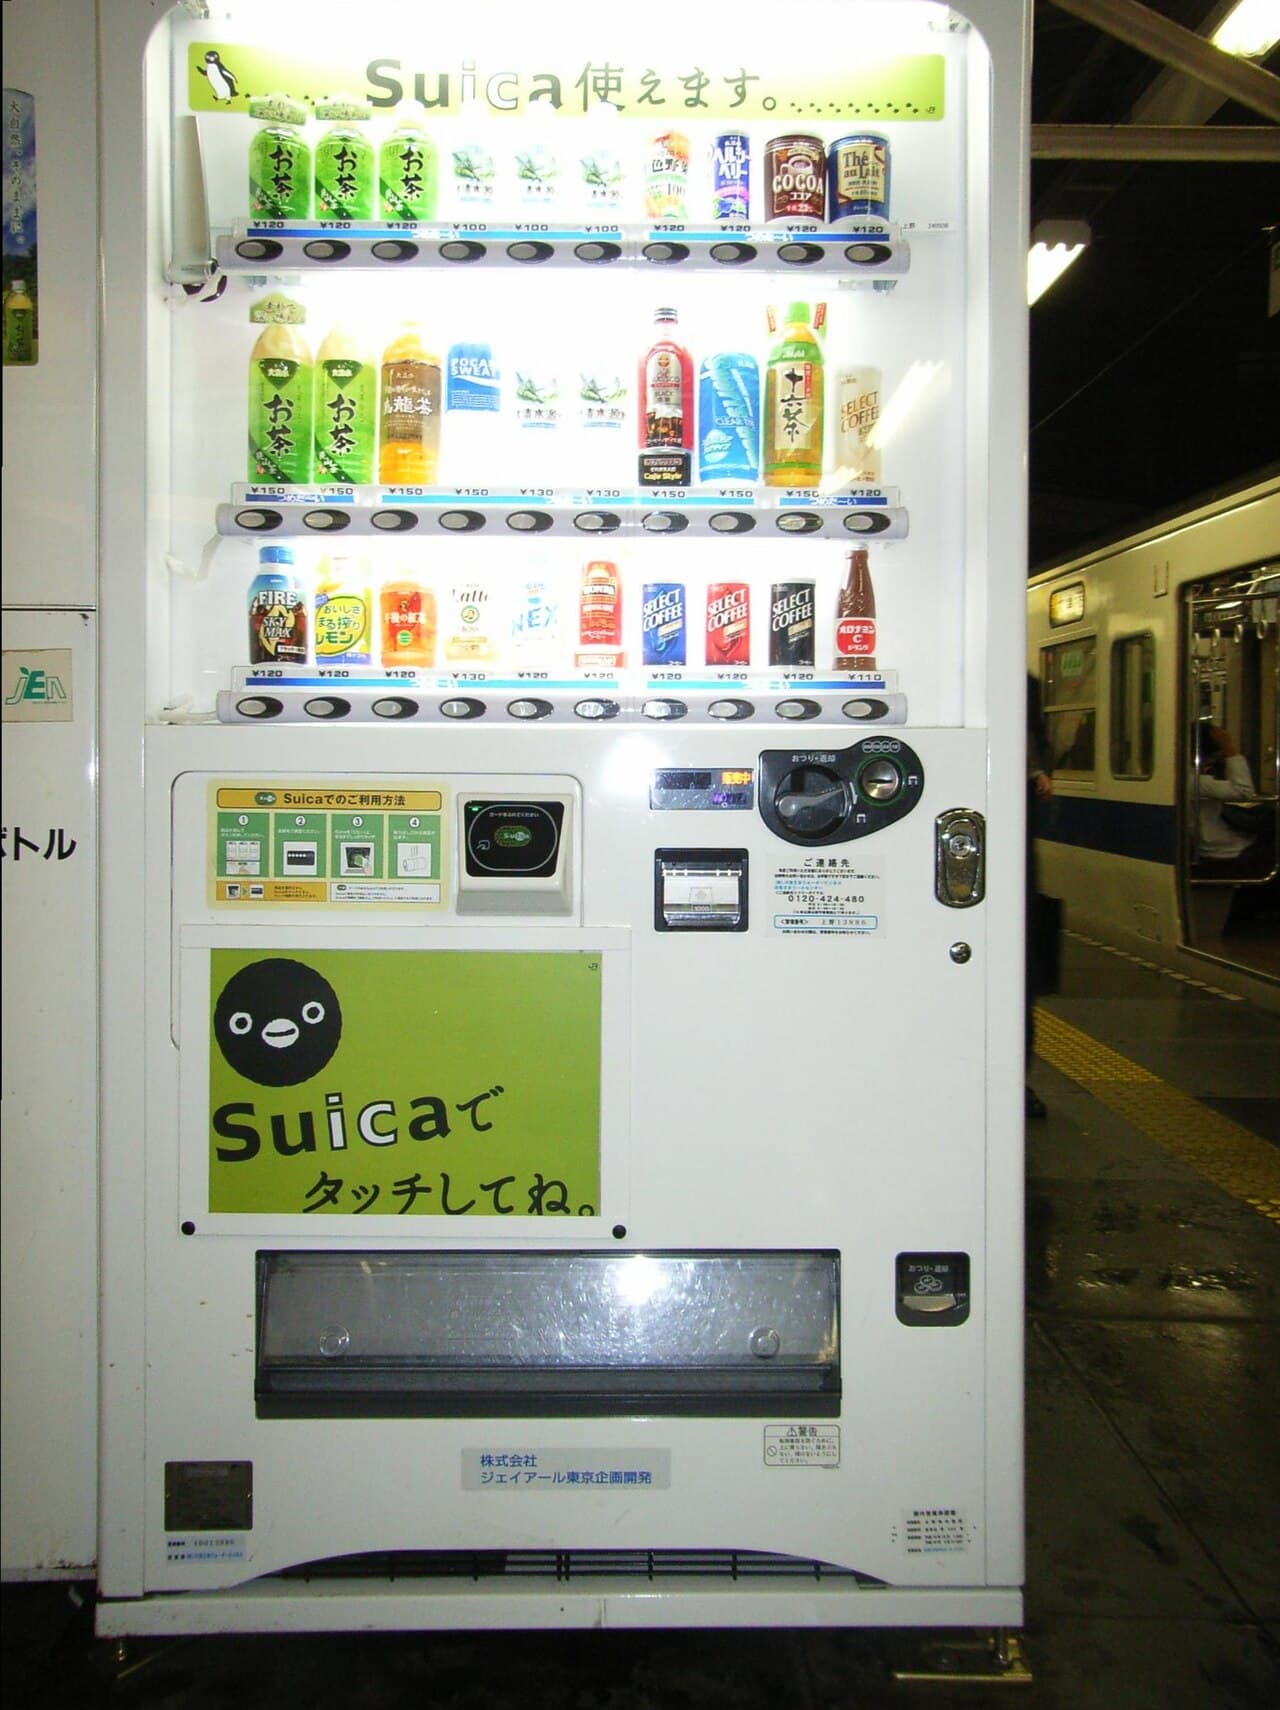
Most Japanese drink machines follow a predictable sequence: check the product and temperature, confirm the price and accepted payment, make one selection, collect the item and take any change. The controls differ slightly, so read the live machine rather than memorizing one universal order.
What you will actually find
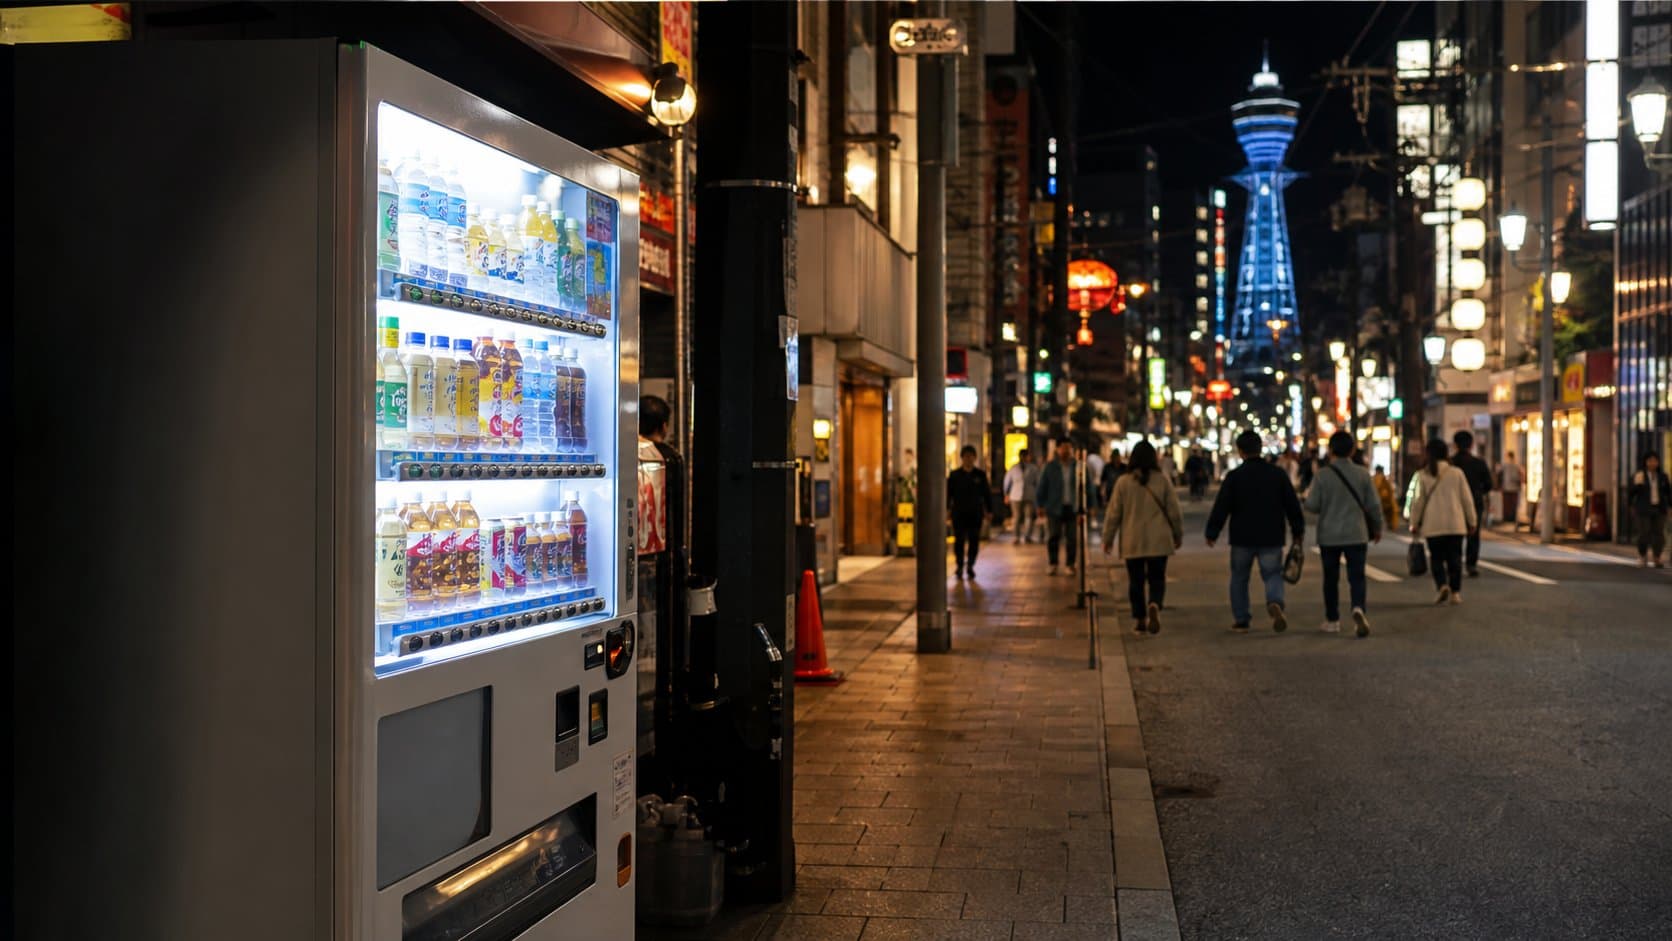
Cash machines show accepted coins and banknotes beside the slots. Contactless models display a transit-IC, card or QR mark. A lit product button usually means the deposited amount is sufficient; a dark or sold-out indicator means that selection is unavailable. Hot items commonly use red or orange labels and cold items commonly use blue.
Practical advice
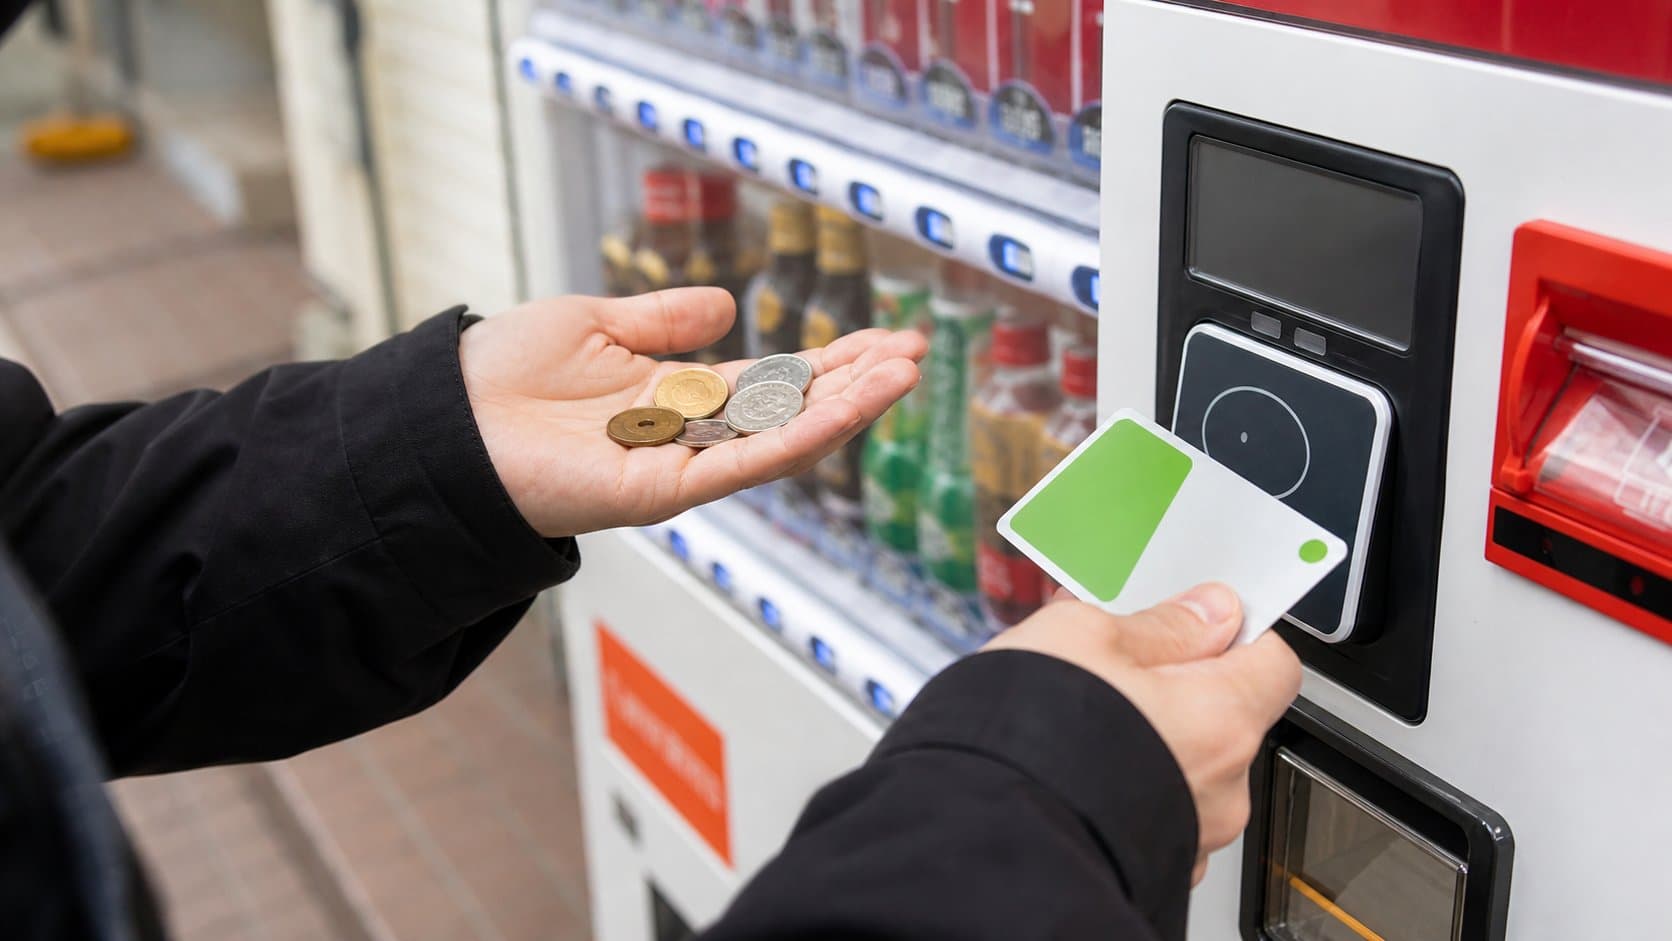
For cash, insert only supported money, press one illuminated selection and check both the product and change trays. For IC payment, follow the screen—some machines require selection before tapping and others after. Keep one card still on the reader until the confirmation sound or message appears.
Step 1: read before paying
Match the product photo, price and temperature label. Check the volume and whether coffee contains milk or sugar. If ingredients matter, translate the package name before committing; the container will provide the final ingredient information after purchase.
Step 2: choose one payment method
Use coins or a clean supported note close to the price, or look for the actual electronic-payment logo. A transit card that works at a railway gate is not automatically accepted by every vending machine. Do not stack several cards against the reader or try to split one purchase between cash and an IC balance.
Step 3: collect everything
The product door can be lower than visitors expect. Retrieve the bottle or can, then check the change tray and any returned note. Move aside before opening a bag or translating the label so the next person can use the machine.
If payment fails
Check the return tray, sold-out light, card balance and supported-denomination diagram. Try one alternative payment method once. If money was retained without a product, record the machine number, operator contact, time and location, and ask nearby venue staff where possible.
The complete purchase sequence
- Check product, temperature, price and availability.
- Confirm one supported payment method.
- Insert cash or follow the on-screen contactless order.
- Press one available product button.
- Collect the item, change and any returned payment.
Continue planning
What not to assume
Do not repeatedly tap several cards, force a note, hit the machine or shake it. Use the cancel or change lever, keep the operator details and seek staff help where available.
Sources and verification
- JR East Welcome Suica shopping guide
- JR East Welcome Suica vending-machine instructions
- Bank of Japan current notes and coins
Research status: reviewed July 13, 2026. Prices, products and installations can change; the live machine and operator are authoritative.
Practical questions
Frequently asked questions
What is the usual order for buying a drink?+
Check the item and price, insert supported cash or follow the contactless instructions, press the illuminated product button, collect the item and take any change. Some cashless machines ask you to select before tapping and others ask you to tap first, so follow the screen.
How can I tell whether a drink is hot or cold?+
Hot products are commonly marked with red or orange labels, while cold products commonly use blue. Confirm the live temperature label beside the item because similar cans may be stocked in both sections.
What should I do if the machine takes my money but gives no product?+
Check the product and change trays first. Record the machine number, location, time and operator contact panel, then ask nearby venue staff or contact the operator. Do not hit, shake or tilt the machine.
Can I use an international credit card?+
Only when the machine displays a compatible card or contactless mark. Many machines still rely on coins, a supported low-value banknote or Japanese transit IC cards, so carry cash as a fallback.
Continue planning your Japan trip
Build a complete Tokyo itinerary
Use this vending-culture stop as part of a fuller trip. Our in-depth Tokyo guide includes a realistic regional route, seasonal advice, transport planning, local food picks, official sources and licensed photography.
Help improve this field guide
Seen a machine we should verify?
Share a dated observation, current products, price, map pin or correction. The editorial team reviews evidence before updating the public database.
About the author
Japan Vending Guide Editorial Team
Our English-language editorial team documents Japan’s vending culture using cautious sourcing and location verification. Unverified details remain clearly marked.
Read our editorial policy →