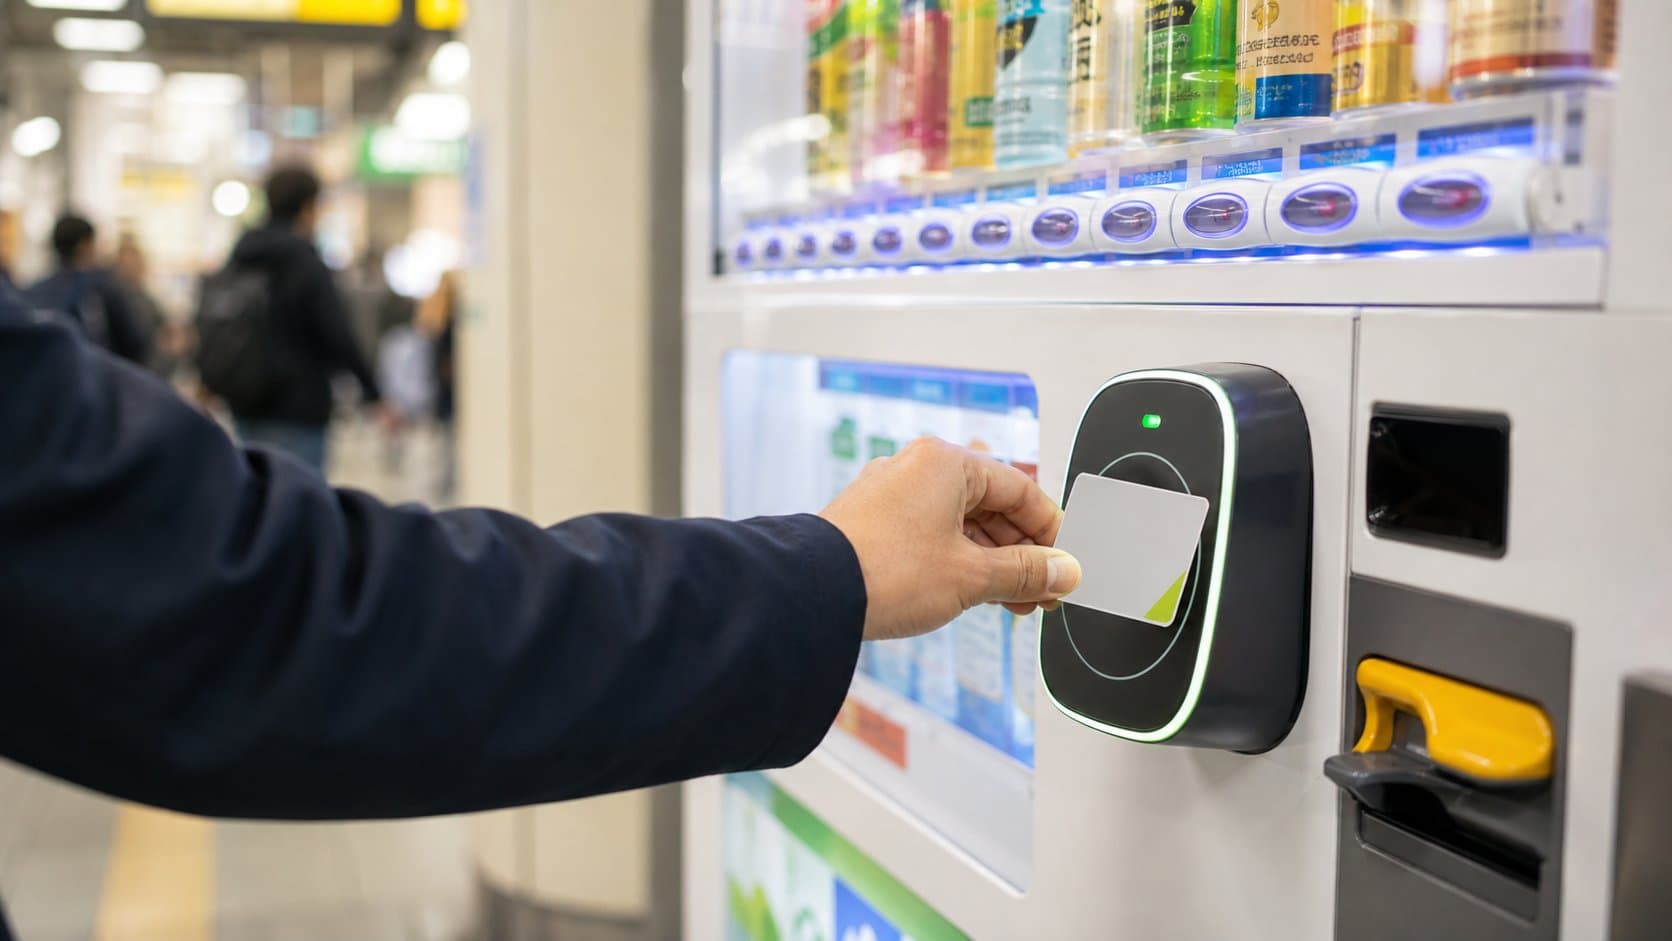
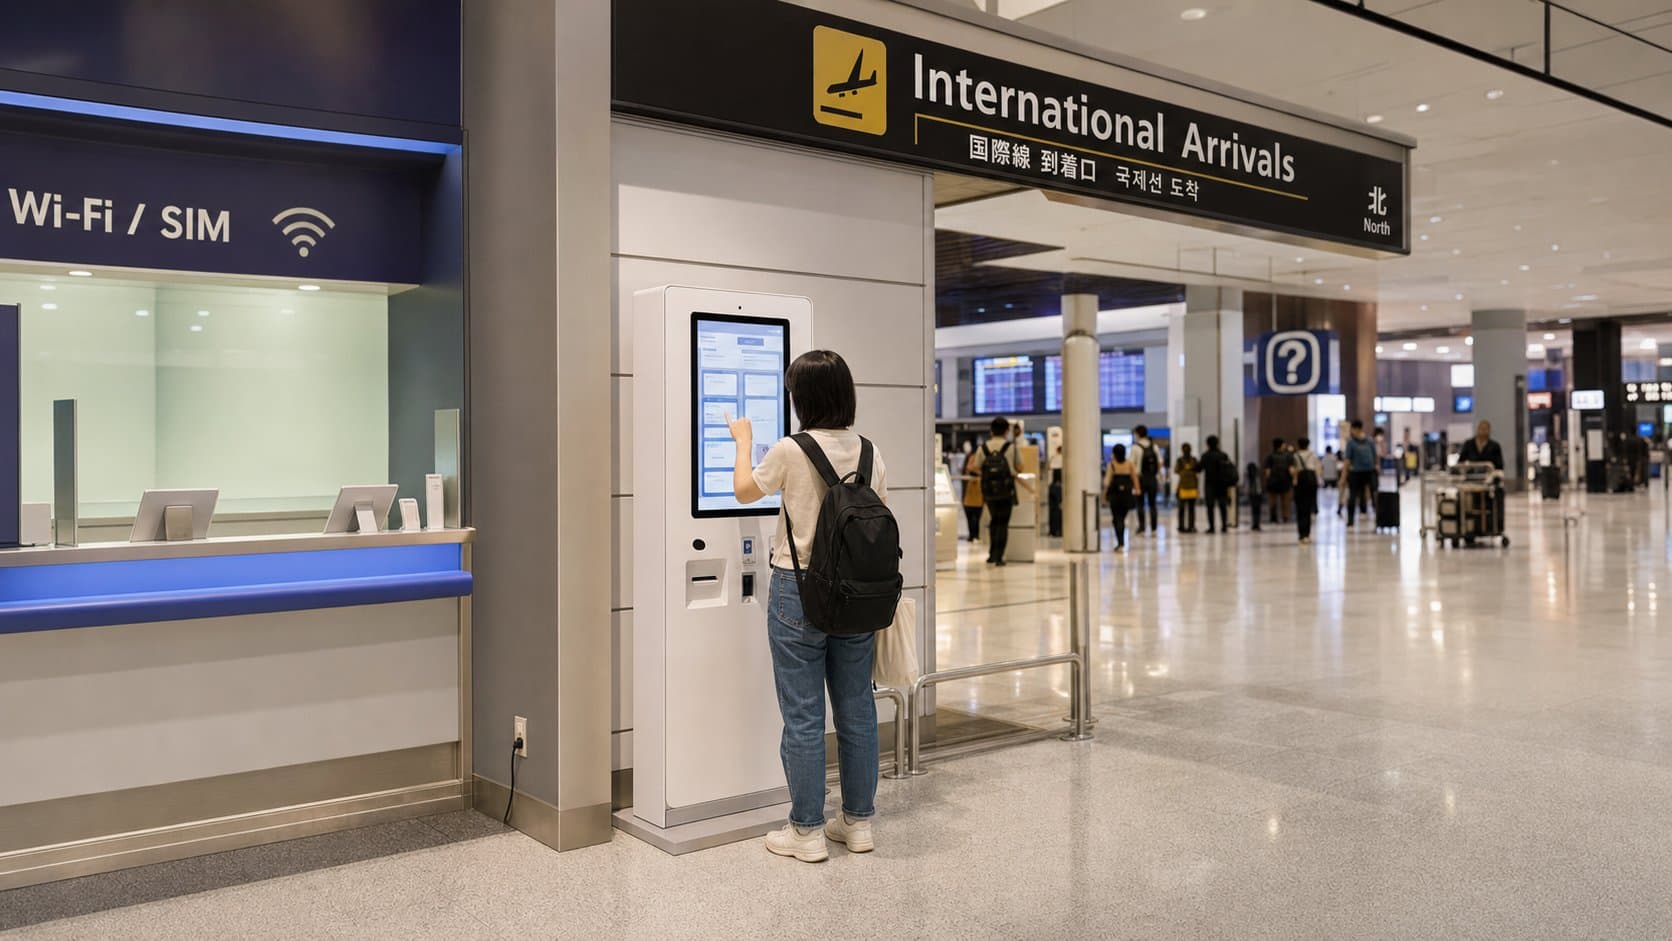
Vending Machines at Narita Airport: Arrival-Day Tips
What visitors may find after landing at Narita, including drinks, SIM vending and the checks to make before relying on a machine.
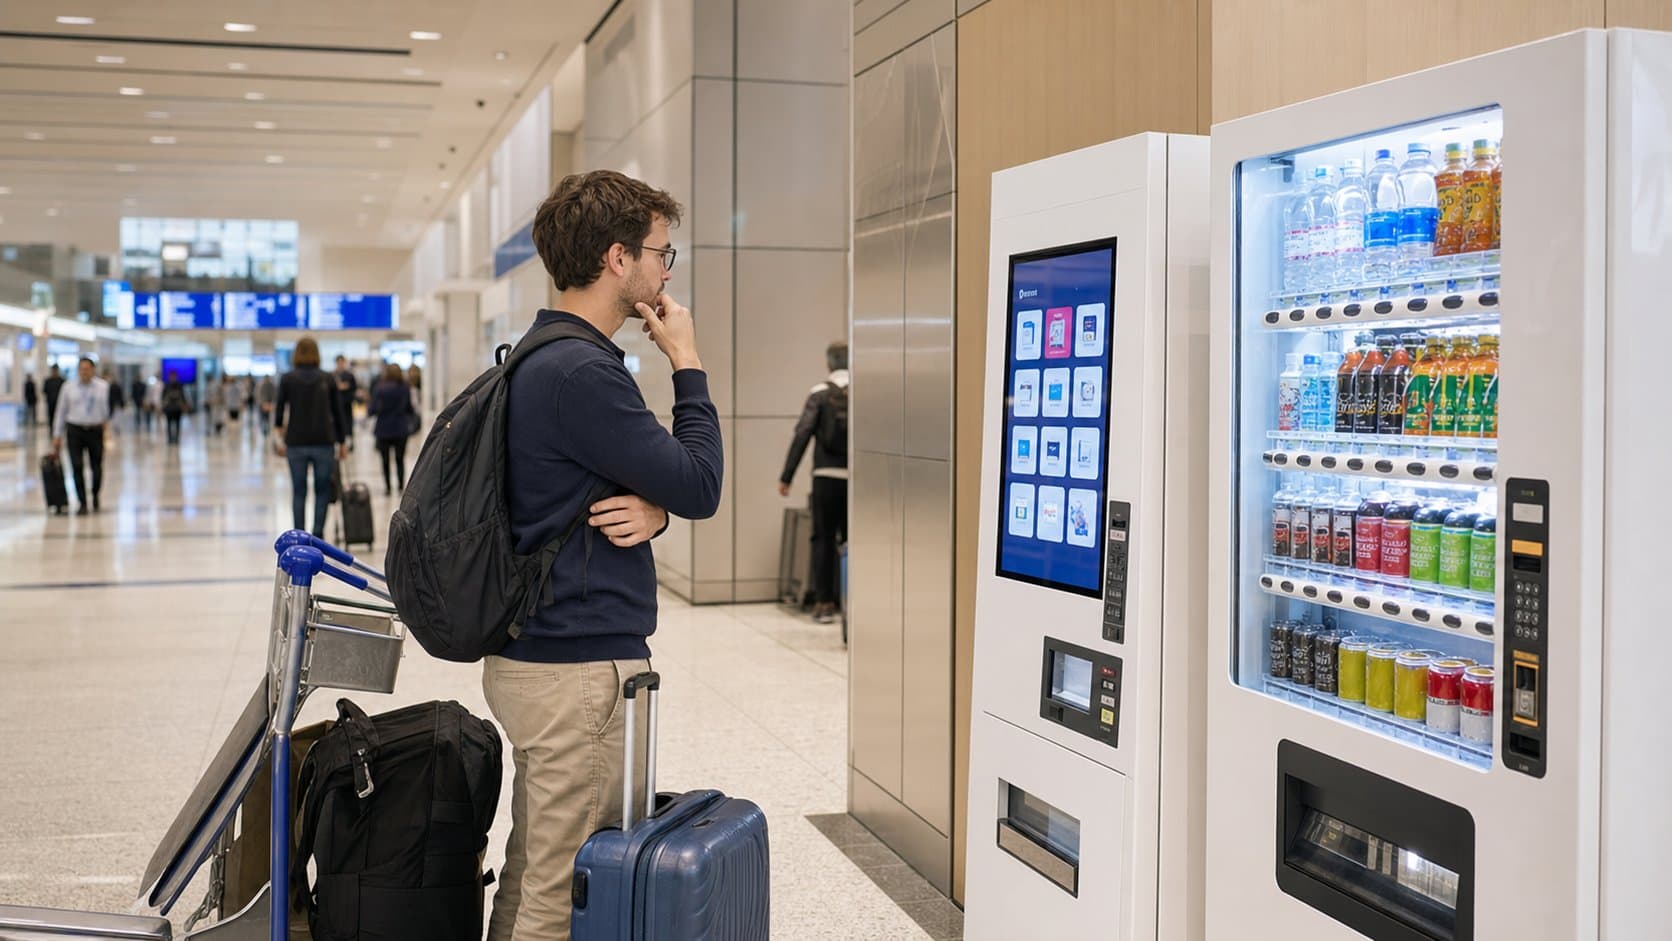
Narita's most useful arrival-day vending options are not limited to drinks. The airport's official service directory documents SIM-card vending machines in multiple terminal areas, which can be useful when staffed counters are closed or busy.
What you will actually find
Narita's official internet and rental directory lists GPA SIM Card Vending Machines in Terminal 1, Terminal 2 and Terminal 3 locations. Some are before security and some are in arrival-side areas such as before Customs, so access depends on your direction of travel. Drink-machine inventory is more variable and should be checked on the live terminal map.
Practical advice
Decide whether you need connectivity, a drink or both. For a SIM, confirm device compatibility, data allowance, activation instructions and support before paying. For drinks, use the live display for temperature, price and payment support.
Access zones matter more than distance
Two machines can appear close on a terminal map but sit on different sides of immigration, customs or security. Finish the required passenger process in the correct order and search only within an area you can lawfully access. A listing marked before Customs is primarily relevant to eligible arriving passengers, not someone meeting a traveler in the public lobby.
Check the phone before buying the plan
A prepaid SIM is useful only if the phone is unlocked, supports the required network bands and can accept the physical SIM format or activation method sold. Read the data limit, validity period, APN or setup steps, tethering terms and support information. Keep the package and receipt until the connection works.
Use airport Wi-Fi as the fallback
Narita states that free Wi-Fi is available throughout all terminals and on terminal shuttle buses, although speed can vary with congestion and the network is not configured as a private connection. It can provide enough access to check an eSIM, contact support or find a staffed counter instead of making a rushed vending purchase. Avoid entering sensitive account information on an unencrypted public connection unless you use an appropriate secure connection.
Arrival-day sequence
- Check which terminal you landed at.
- Finish immigration and customs in the required order.
- Use Narita's official service directory to confirm an accessible machine.
- Read plan, refund and device requirements before buying a SIM.
- Keep the receipt and packaging until the service works.
Continue planning
What not to assume
A vending machine does not guarantee that a particular SIM will work with every phone. Locations, products and access zones can change; the editorial image is illustrative rather than a location record.
Sources and verification
Research status: reviewed July 13, 2026. Prices, products and installations can change; the live machine and operator are authoritative.
Continue planning your Japan trip
Build a complete Tokyo itinerary
Use this vending-culture stop as part of a fuller trip. Our in-depth Tokyo guide includes a realistic regional route, seasonal advice, transport planning, local food picks, official sources and licensed photography.
Help improve this field guide
Seen a machine we should verify?
Share a dated observation, current products, price, map pin or correction. The editorial team reviews evidence before updating the public database.
About the author
Japan Vending Guide Editorial Team
Our English-language editorial team documents Japan’s vending culture using cautious sourcing and location verification. Unverified details remain clearly marked.
Read our editorial policy →